Showing posts with label challenge 1. Show all posts

Wednesday, August 31, 2011

Making a Mosaic...


The moment you have been waiting for....

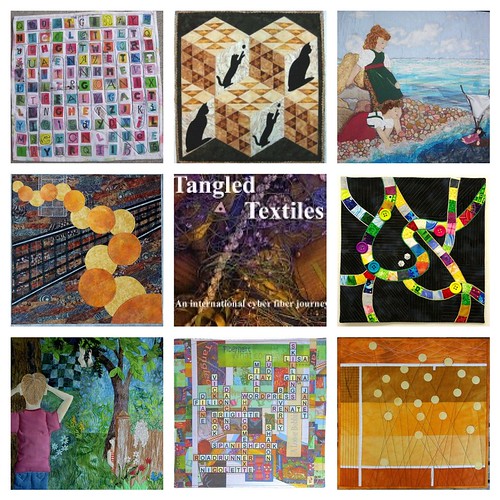
A Mosaic of Challenge #1 (Games)...


 and...

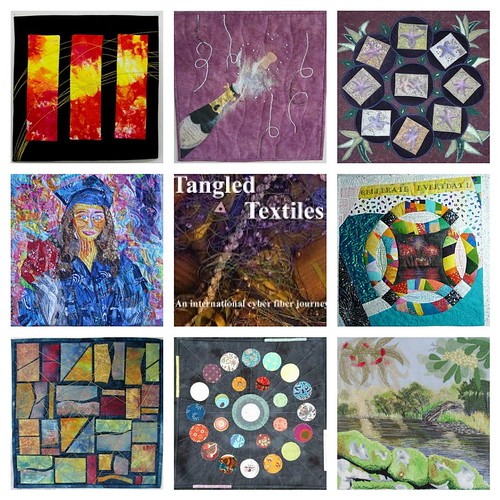
a Mosaic of Challenge #2 (Celebrate)...


but even better....
I will show you how to make a mosaic!!!!

I have a flickr account
which is invaluable for organizing photos, meeting friends (believe it or not!)
and many other photo activities
(you can have one for free unless you have a lot of photos, then I recommend a pro account)

For the mosaic, I will be using my flickr account.

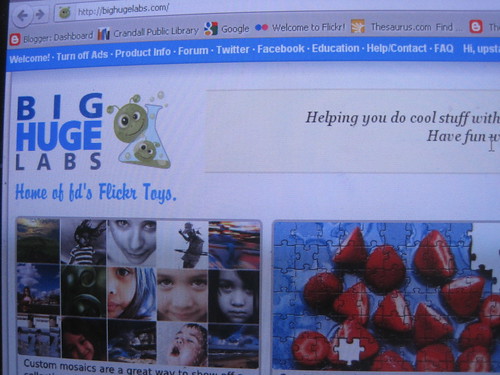
I start at Big Huge Labs...


Make a mosaic

which has a lot of fun things to do with your photos
and
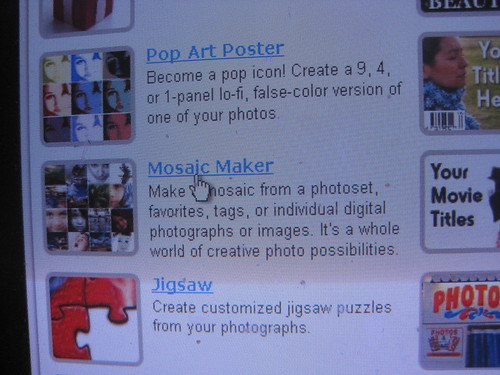
we will choose the mosaic maker...


Click on the Mosaic Maker

Easy so far, right?

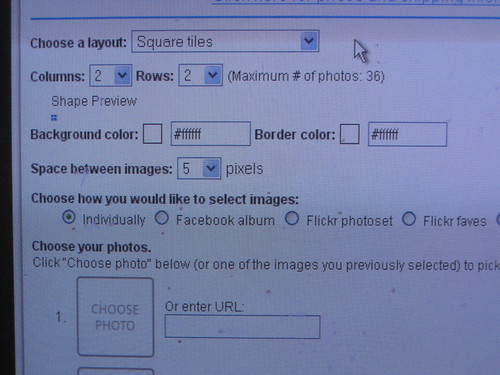
You will be brought to this page
where you will have to make some creative (?) choices...


Choose your settings

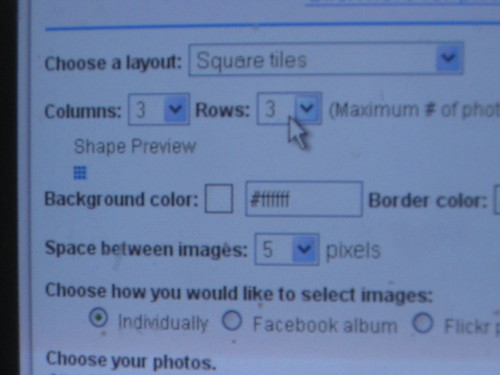
I am going to make a square 3x3 grid...


Choose the number of rows and columns

With me so far?

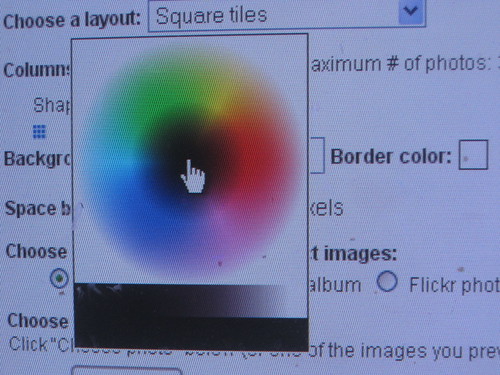
If you like, you can create a border around your mosaic
and select a color.
For this mosaic, I will stay with basic white...


do you want color around your photos?

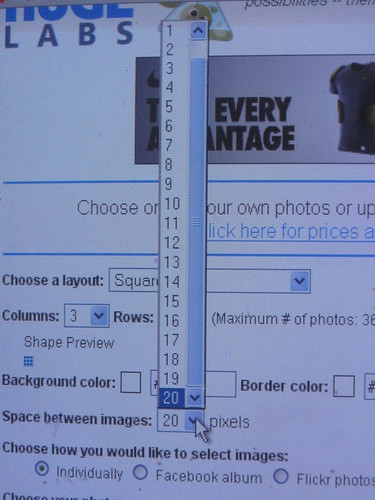
Your border around the photos can be as small as 0 pixels or as large as 20 pixels...


do you want spacing around your photos?

(I selected 20, to create some separation between our works of art.)

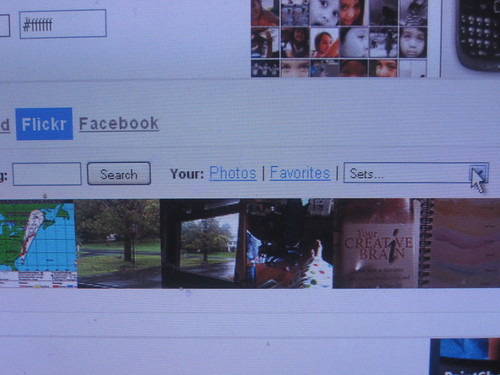
As I mentioned, I am going to upload the photos from my flickr album
so now is a good time to select "flickr"


I'm going to upload photos from my flickr account

You then will select each of the, in this case 9, photos for your mosaic.

I am starting by clicking on the "choose photo" at #1...


you can choose to add photos in various ways

which will, initially, take me to some additional choices to make...
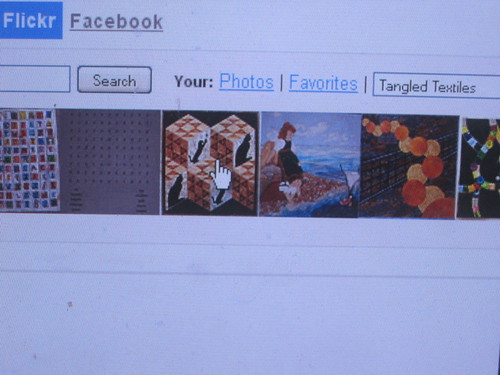
You can select your photos by tags, individual photos, favorites 
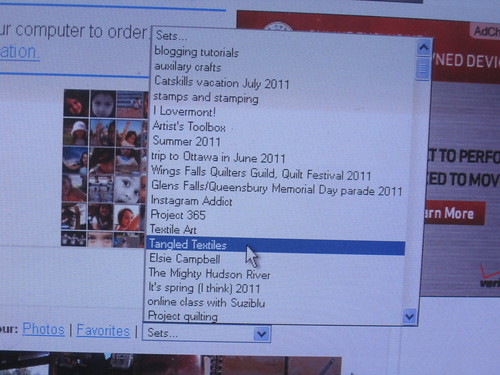
or in my case, by sets...

I can choose one of the sets in my flickr account

I have many sets
and will find the photos I need for this mosaic in my 
Tangled Textiles set...


here is my Tangled Textiles album


Once I have selected the set,
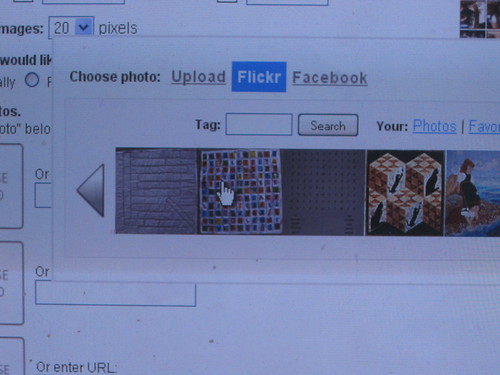
I will have a horizontal view of the set 
and can scan the photos in the set by clicking on the left/right arrow.

Click on the photo of your choice...

start selecting photos from the album

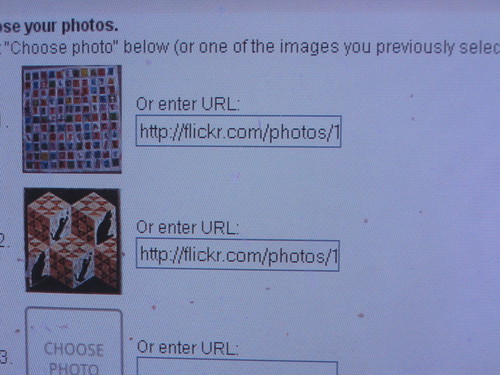
and it will magically appear in the #1 photo slot...


first photo selected

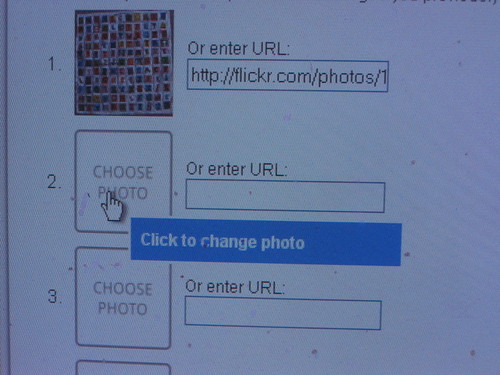
You then click on "choose photo" in the second slot...

click on photo #2

choose your photo...

see your photo choices and select

and there it is!!!


photo #2 has been selected

Once you have selected all the photos for your mosaic,
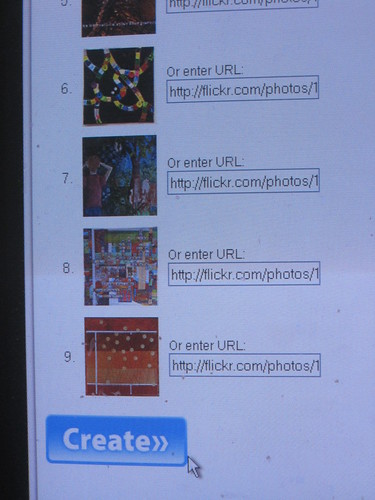
click on the CREATE button at the bottom...

when all your photos are selected, click on create

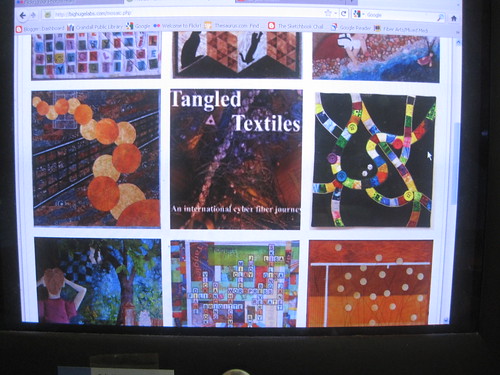
and you have a mosaic!!!

et voila!

Now, you are not quite done yet!

You have to send it back to your flickr album,
so click on "Share"
and select "flickr"...

click on share

You will then have a chance to change or add
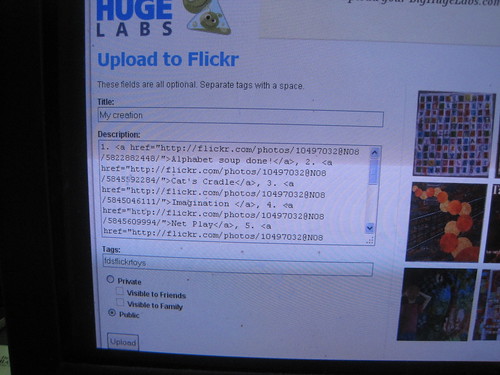
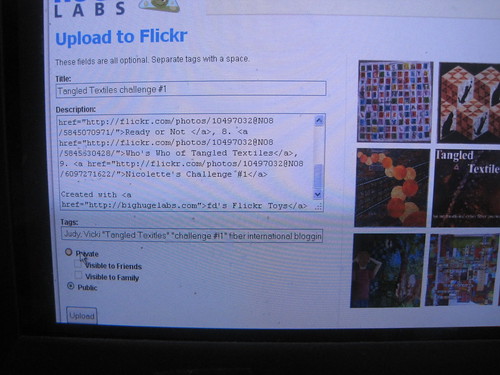
title, tags, and privacy settings
before it uploads to flickr...


you can make changes/additions

After you make your changes or additions,
click on "Upload"...


click on upload at the bottom


wait a minute....

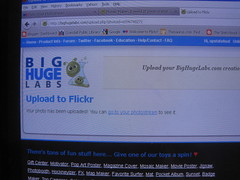
Your mosaic is uploading to Flickr

et voila!!!

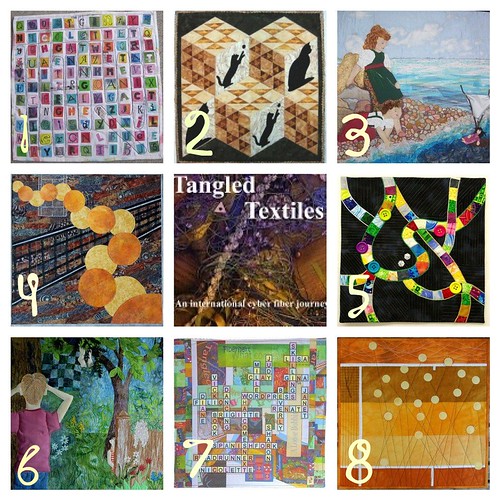
Tangled Textiles challenge #1

and if you want to get fancy and add text/numbers/etc,
check out the tutorial I wrote last week
on my blog (hope you are not squeamish)...

Tangled Textiles challenge #1

Challenge #1 quilts by 
1. Lisa
2. Brigette
3. Vicki
4. Gina
5. Beverly
6. Janet
7. Judy
8. Nicolette


That wasn't too hard now, was it?

Wednesday, June 15, 2011

A simple game


 Well here it is!  Kitty's Kradle!  It took some time to come up with the idea.  I started to think of all the games that are played with technology today and realized that some folks will never know the wonder of games like jacks, marbles, hopscotch, or even a simple game with string.

I had recently taken a class using EQ7.  That's when fate jumped in.  For practice we were to draw the quilting block Cat's Cradle from scratch.  That was it!    I sought out various strings and ribbons I had in my stash and envisioned couching the string over a background of the blocks in such a manner that it was easily recognizable to anyone who had played the game.

I started to play with some of the layouts in EQ7 and realized that a baby block setting would also fit within the theme of games.  Let's face it; didn't we all play with blocks as little ones?  All I had to do was get it to a 16" x 16" size.  Paper piecing help me to complete the small intricate pieces of the blocks.

With the cats fused onto the background fabric it started to take shape for me.  I agonized over the placement of the string but nothing seemed to look right.  I finally decided to couch wool around the outside edge to represent the string.  I also finished the edge; something I had never done before to finish a quilt.

Let me say that I am thrilled to be part of such a creative group of women.  You are encouraging, fun loving and enthusiastic!  I can't wait for our journey to continue!

Voyage of Imagination

Well, it's just after 5 am (Thurs) here and that means it's about lunchtime (Wed) there.  I have been popping in and looking at the quilts coming up during my breaks.  They are all so wonderful and so different.

Unfortunately, since it is the middle of the night, I haven't got a wonderful photo, only one taken with my camera. as DH's big camera wouldn't work for me and he is fast asleep.

This is called "Voyage to Imagination, and is based on a vintage postcard.  I wanted to capture the joy of being a child and simple games that are the best memories.
The sky is felted on satin, the ocean is fused sheers with some stitching,  The rocks are fused sheers using my soldering iron - no cutting there and the rock pool is organza, burned with a heat gun to make it puckery, then beaded.
The children are mostly needleturn applique and have needlepunched silk hair
The doll is polymer clay and the boat is some twigs and a bit of bark.  I made these into a little brooch that clips on.
There is also a fair bit of threadpainting.

Even though I had a lot of problems with this piece and some of it is not how I imagined it, I am pleased with the overall picture.  I had to re applique the little girl's face three times before I felt it was good enough to go on with and there are lots of mistakes - so does that mean I learnt a lot?

I am so glad to be a part of this group and can't wait for the next challenge!
I am so excited by how everyone's work has come out - Cheers, everyone.

Alphabet Soup!!!!!


My recipe....

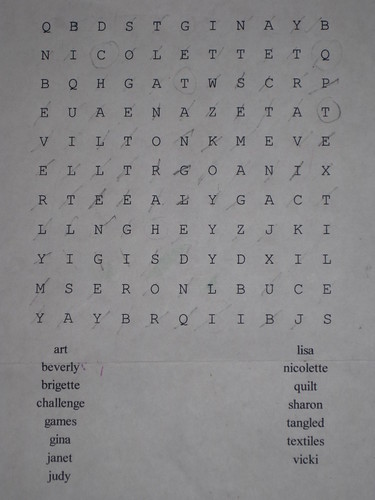
starts with a word game for inspiration...

the puzzle that will become Alphabet Soup
(I looooove word games!)


and then....

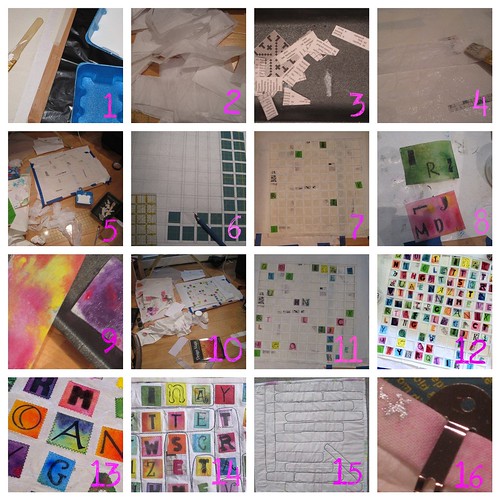
How I made Alphabet Soup

1.Mix glue and water, place freezer paper on flat surface (ie floor)
2. Rip up tissue paper
3. Cut up a crossword puzzle book
4. Glue down tissue paper and crossword pieces onto muslin background
5. Create paper cloth (a la Kelli Nina Perkins)
6. Create a grid on freezer paper
7. Lay grid on paper cloth
8. and 9. Use a variety of mixed media (including Lutradur, Transfer
Artist Paper, painted fabric, hand dyed fabric,
diluted fabric paint, rubber stamps,
water soluble crayons, stencils, paintstiks, punches,
paper cloth remnants, painted baby wipes, stitching)...
and create ~1 inch alphabet squares (121 of them)
10. Make a mess!!!!
 11. and 12. Fill up the grid with the letter squares and then adhere with gel medium
13. Remove grid and stitch around all the letters (that takes about 3 hours!!!)
14. and 15. Quilt the words from the Word Search
16. Bind quilt with painted muslin

and then,
you have Alphabet Soup!!!!


Alphabet soup done!

Now I'm ready for Round #2!!!!


Ready or Not!

- 99 - 100! Ready or Not, here I come!
I choose the game of Hide and Seek and have used a variety of techniques, including raw edge applique, yarn couching, painting, stamping and free piecing, as well as thread painting and quilting to define the different images.  There are somethings I`d definitely do differently if I were to do it again - it is after all a learning experience, but all in all, I`m very please with how it has turned out!
made good use of a previously woven piece for the background around the fir tree, and thread painted branches on water soluble stabilizer, raw edge applique on stamped leaves in background

I see you!  raw edge applique, thread painting, paint and coloured pencils
This was fun!  bring on the next challenge!
Cheers,
Janet