The moment you have been waiting for....
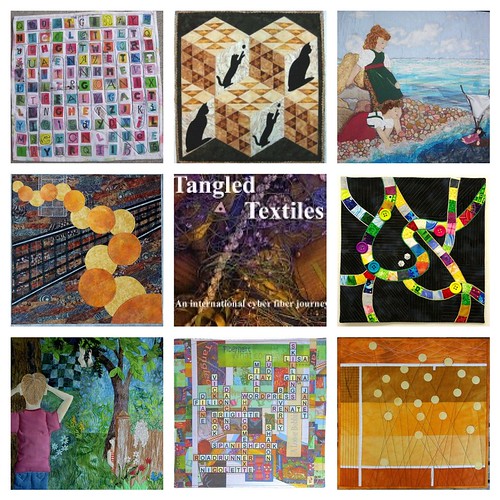
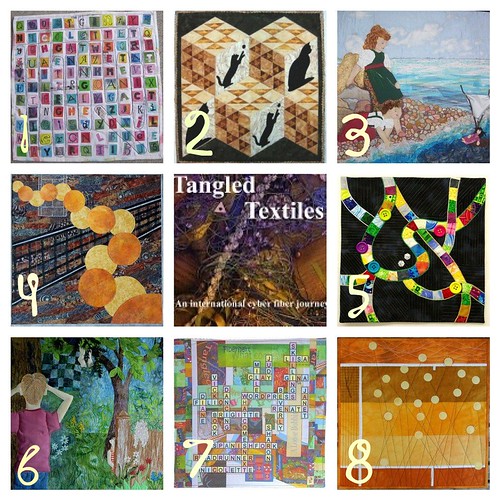
A Mosaic of Challenge #1 (Games)...
and...
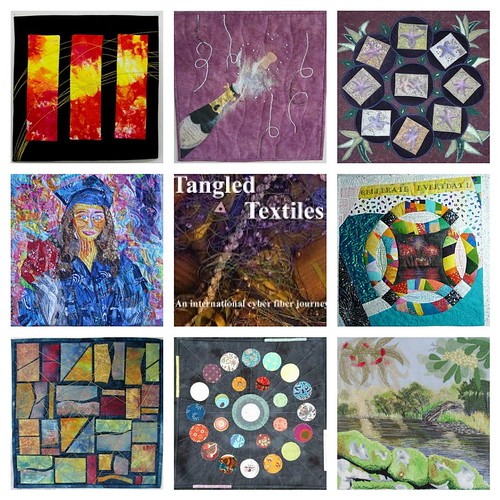
a Mosaic of Challenge #2 (Celebrate)...
but even better....
I will show you how to make a mosaic!!!!
I have a flickr account
which is invaluable for organizing photos, meeting friends (believe it or not!)
and many other photo activities
and many other photo activities
(you can have one for free unless you have a lot of photos, then I recommend a pro account)
I start at Big Huge Labs...
which has a lot of fun things to do with your photos
and
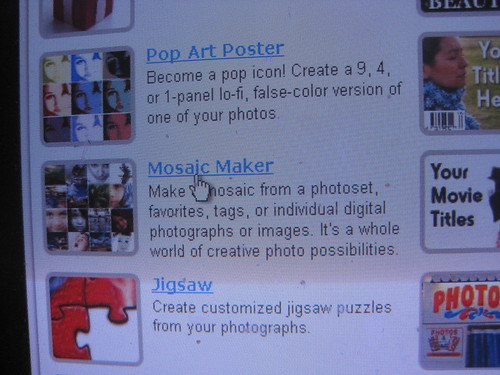
we will choose the mosaic maker...
Easy so far, right?
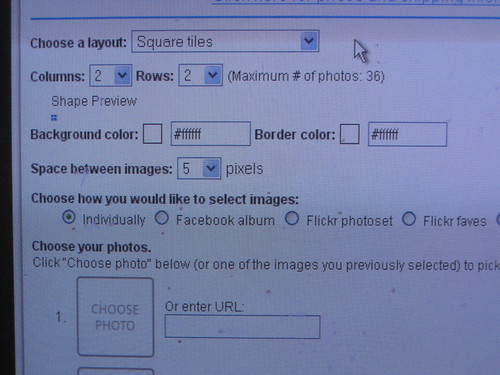
You will be brought to this page
where you will have to make some creative (?) choices...
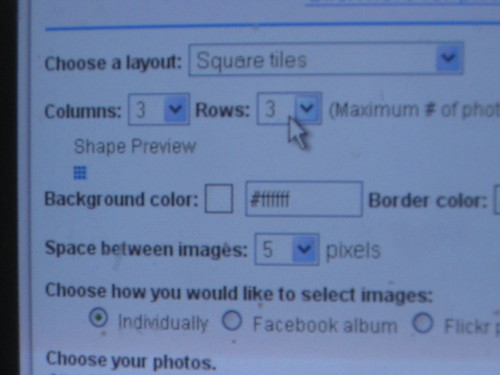
I am going to make a square 3x3 grid...
With me so far?
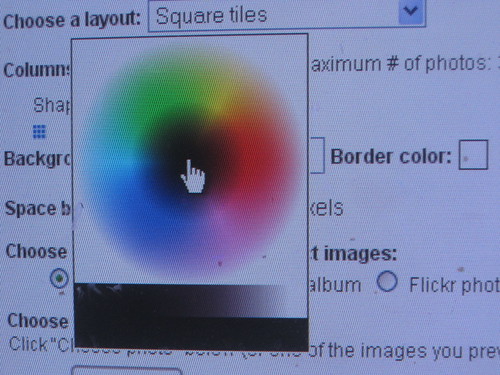
If you like, you can create a border around your mosaic
and select a color.
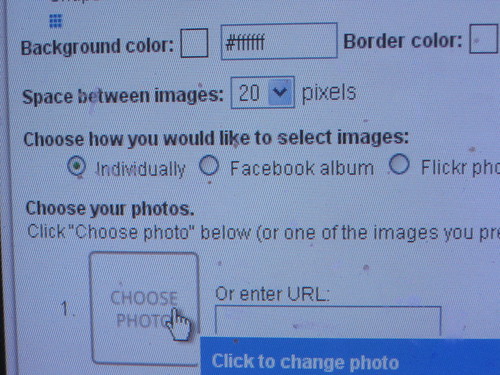
For this mosaic, I will stay with basic white...
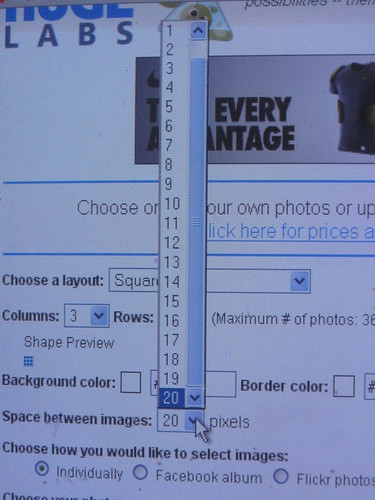
Your border around the photos can be as small as 0 pixels or as large as 20 pixels...
(I selected 20, to create some separation between our works of art.)
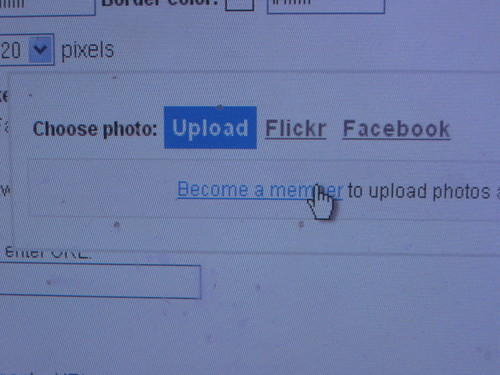
As I mentioned, I am going to upload the photos from my flickr album
so now is a good time to select "flickr"
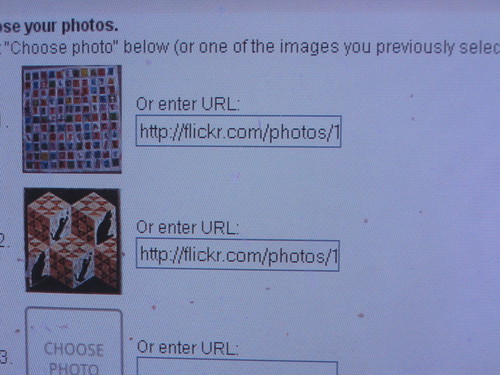
You then will select each of the, in this case 9, photos for your mosaic.
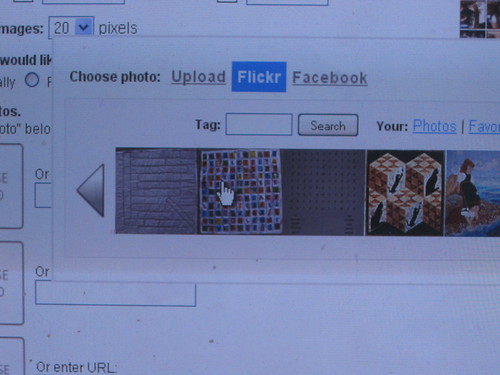
I am starting by clicking on the "choose photo" at #1...
which will, initially, take me to some additional choices to make...
You can select your photos by tags, individual photos, favorites
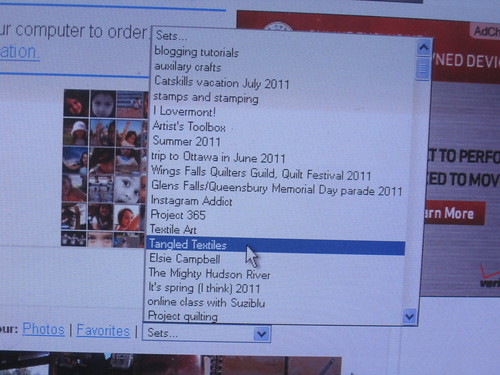
or in my case, by sets...
I have many sets
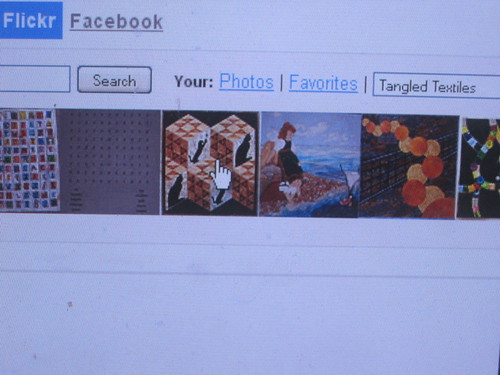
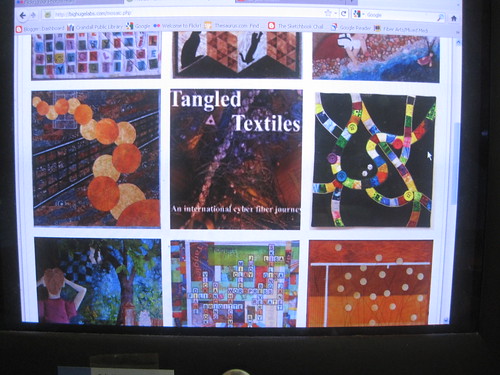
and will find the photos I need for this mosaic in my
Tangled Textiles set...
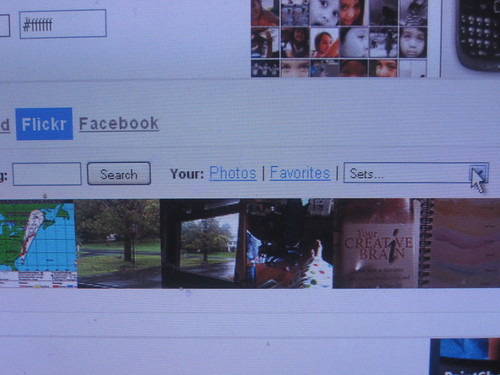
Once I have selected the set,
I will have a horizontal view of the set
and can scan the photos in the set by clicking on the left/right arrow.
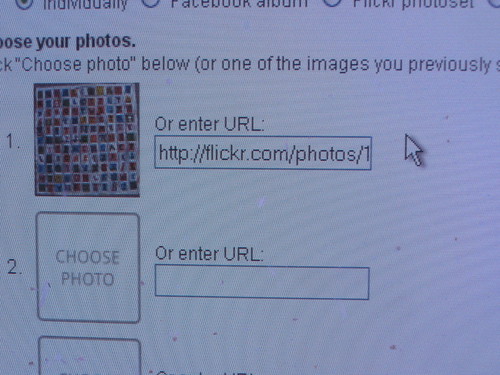
Click on the photo of your choice...
and it will magically appear in the #1 photo slot...
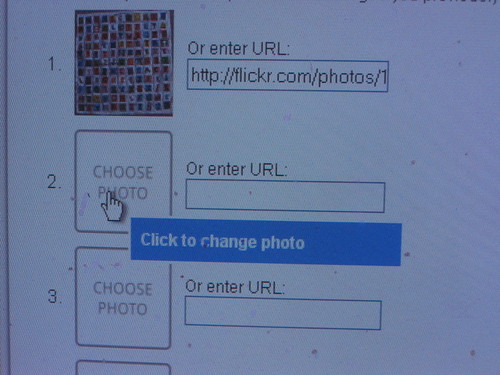
You then click on "choose photo" in the second slot...
choose your photo...
and there it is!!!
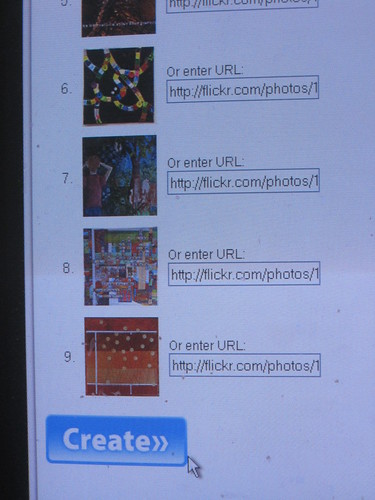
Once you have selected all the photos for your mosaic,
click on the CREATE button at the bottom...
and you have a mosaic!!!
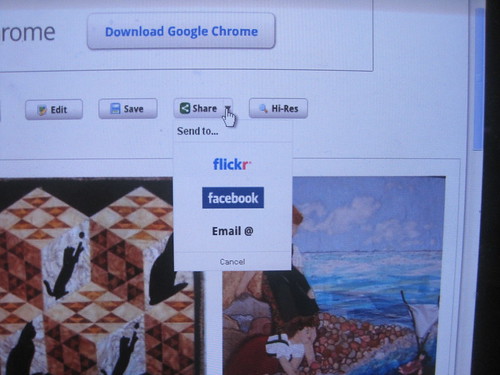
Now, you are not quite done yet!
You have to send it back to your flickr album,
so click on "Share"
and select "flickr"...
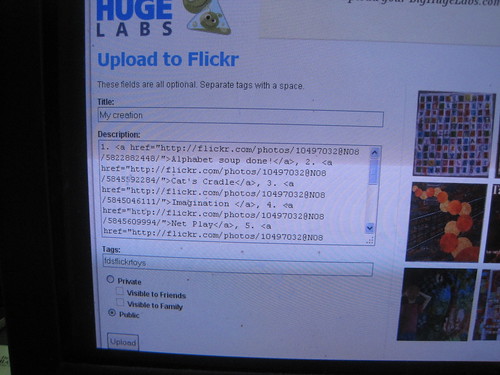
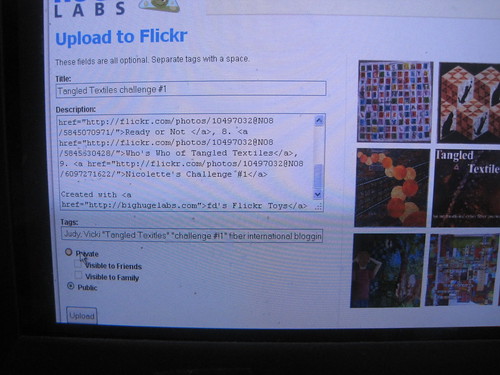
You will then have a chance to change or add
title, tags, and privacy settings
before it uploads to flickr...
After you make your changes or additions,
click on "Upload"...
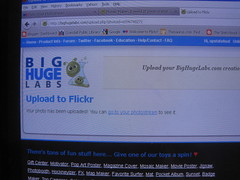
wait a minute....
et voila!!!
and if you want to get fancy and add text/numbers/etc,
check out the tutorial I wrote last week
on my blog (hope you are not squeamish)...
check out the tutorial I wrote last week
on my blog (hope you are not squeamish)...
Challenge #1 quilts by
1. Lisa
2. Brigette
3. Vicki
4. Gina
5. Beverly
6. Janet
7. Judy
8. Nicolette
That wasn't too hard now, was it?

 a
a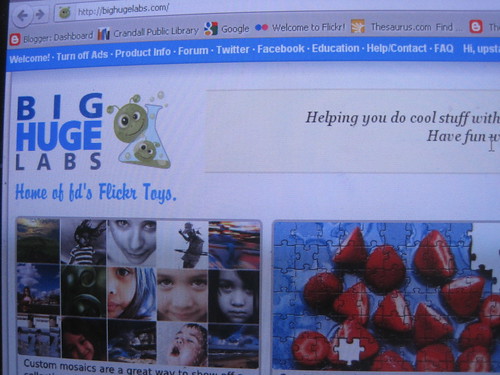
Lisa, thank you. It is so great to be able to view all the challenges as a group. The way you handled the uneven number of quilts by adding our logo in the middle was very clever. Your tutorial is very usable. Thanks for all the effort and time it took to create it.
ReplyDeleteOh wow Lisa, thanks for all the work involved! It’s wonderful to see all the quilts together!
ReplyDeleteYay! They look so great together! Thanks Lisa!
ReplyDeleteWow, thanks Lisa! The mosaics are great and super tutorial!
ReplyDeleteSo excellent, Lisa. It was worth the wait. It is so perfect to see them all together, finally.
ReplyDeleteHope the weather is staying OK there.
I suppose now we need to make a page to put them on. If you all like, I'll try and do that next week.
Excellent job, I love seeing them altogether. One of these days when I have more time to play on the computer, I'll try your tutorial. Right now, I am just appreciating all the hard work you did to create these!
ReplyDelete