Thursday, November 28, 2013

The music of life

sometimes it is smooth and melodious - everything feels good - life is good.


Sometimes it is jarring and discordant - it can set your nerves on edge and upset the balance and cause stress. 


The latter appears to be the music of our lives these days.  With that in mind, and to get us all back to a relaxed, creative state, the reveal for the music theme - our 12th theme, will be postponed to January 12, 2014 - the 12th on the 12th.  Seems fitting, doesn't it?

Now we will be able to enjoy the music of the holidays and really get creative with our pieces!

Friday, October 4, 2013

In-box Technique

I have long admired Susan Lenz fiber art work. Linda Matthews has shared a tutorial describing the In Box technique Susan uses.

free motion embroidery linking the boxes

Saturday, September 28, 2013

the 12th challenge

"Music is a moral law. It gives soul to the universe, wings to the mind, flight to the imagination, and charm and gaiety to life and to everything." 
Plato

Notes Stock Photo
Use music - lyrics, images, feelings, instruments, notes - whatever strikes your fancy, to set "flight to the imagination" in creating your next challenge piece.  Make it mixed media!


Reveal will be November 30, size 16" x 20", horizontal or vertical,

Have fun!


Wednesday, September 18, 2013

Open Revisited

So I bowed to peer pressure and quilted the leaves. They are still very subtle and not easy to see. Do to the heavy use of fusible web, the quilting did not make them "pop" as they normally would.

Open Ended  16"x 15 3/4"
commercial fabrics, applique and weaving, machine quilting

Monday, September 16, 2013

Post Script

Thanks to all of you for your kind words after I posted my latest almost-done challenge quilt!

I have to say that being OPEN and honest has been rather invigorating for me and has caused my creative mojo to runneth over!  I spent almost the entire weekend creating!!! I didn't even get dressed yesterday because I was so busy!!! What a wonderful feeling!!

So now challenge #11 is done!


"EXPOSED"

 and a close up of some of my embellishments...


Friday, September 13, 2013

Open- Beverly

First, I am sooooo sorry to be posting this a day late.  I left for a week long workshop Monday morning, thinking that I would have plenty of opportunity to post on time with my iPad.  When I got there- no wifi!  I have been without internet access all week- real withdrawals for me!

However, I did complete my piece well ahead of the deadline, so here it is--

Open, 23 1/4" by 15 1/4"
Hand dyed cottons, machine pieced and quilted

I took Gina's theme at face value- there is no "hidden" meaning to this quilt!  I took the opportunity to continue to explore modern design, using my hand dyes.  I wanted to see what would happen if I paired a textured, multi-color hand dye with a solid.

This is the first one I've done for our challenges that doesn't measure 16 by 16.  I wanted to express an idea of an object leaning into the wind- so I used straight line machine quiltint on the multi-color fabric, and loose, wavy lines on the solid background.  I'm rather pleased with the result, and plan to continue these kinds of explorations.

And now I'm off to unpack all the bins and fabric and other stuff from my five day workshop, and cruise to the blog and see what everyone else has been up to!

Full Disclosure (almost)

Sorry I am late posting!  Life is full! I just returned from having lunch and shopping with my oldest daughter who is away at college about 1 1/2 hrs away. As I returned home, I snapped a few shots (texting while driving is illegal but they have not outlawed snapping pics while driving... yet!). 


Driving on the OPEN road and enjoying views of the OPEN sky! Wish I had thought of that sooner!!!!

Anyway, in the few years since we began this group, we all have found that one of our Tangled Textile challenges tends to speak to us more than some of the others and creative juices just flow.  However, since last summer I have had a lot of difficulty producing finished work for our challenges,  much less any art at all. It has been really frustrating!! In years past, making art had been a creative outlet.... an activity that I enjoyed. But it seems that recently when I do finally come up with ideas, I have had a particularly difficult time getting anything on the page or the fabric.

For our latest challenge, I actually began a project (#1), got some technique ideas from a book, enlarged the "pattern", cut out all the fabric parts and began arranging them.  But as I looked at the work-in-progress on my studio floor (where else?)


..and it sat there for a few weeks (!), I could not complete it... so it was tossed.
Discouraged and running short on time....I perused my photos. Project possibility #2 never really got off the ground but involved one of my favorite photos from this summer. 
 

And then amid the chaos of my mind and my heart, an idea was born. However, this idea which involved a weekend (last weekend to be exact!) of hand dyeing, hand applique, machine sketching, embellishing .... meant that I would be exposing a part of my life that I have kept private FOREVER....
Merriam Webster defines exposed as, "1. open to view, 2. not shielded or protected."
But I kept working on project #3 because my heart said, "sew what you know." 

What I know is depression.... since I was about 12 years old.  Over the many years, I have been prescribed a variety of medications, I have graced the couches of psychologists, social workers, psychiatrists, a mental health worker at a student health center, and various counselors in many cities. I have read books about self-acceptance, hope, healing, agreements and I still have many more books to read. And yet, for some reason,  melancholy hangs on.

And sew I am......
EXPOSED


Well, it is not quite done!

So I will post again when it is complete!

Thursday, September 12, 2013

The Right Key

Initially drawing a blank on where to go with this one I went for a drive to the park, passed several homes, and an industrial park.  Sat on a bench for a while and came home, passing that same industrial park.  This time however, I noticed a locked gate and thought, “you'd need the right key to open that one.”  Bingo.  An idea was germinating.  I had some painted fabric that resembled an industrial park and looked like this.


I cut it in half and used the lower half, hoping it might work to represent a chain link fence.  Keys? I gathered up old keys around the house.  Will they work?  How will I portray them?   Using a stenciling technique, I traced them onto freezer paper, cut out the shape, and pressed the resulting stencil to the fabric.  With Shiva paintsticks I got the images of keys onto the fabric.  I also remembered a pointillist technique I had learned.  I found an image of an old key and went to work.  This just might work.


I went on a hunt through antique stores, thrift shops and found an old skeleton key and decided that I would do a rubbing.  I didn’t like the result, so I set the key aside. The piece needed some hand stitching along with the machine quilting to add what I thought would give it some depth. 


It still needed something else, but what?  I added just what an old key would need; keyholes.  Next, I added the keys.  Everyone needs THE RIGHT KEY to open something, don’t they?  There you have it. 


As open as you can get

so here I am again.  very late.  Unfortunately, I was up really late last night, not working on this, which I finished a week ago, but on a larger piece that this one suggested.  when the muse is there, you just have to go with it!
of course that meant I slept the morning away.  so here is my open piece.
in some ways, this piece is along a direction I have been moving along for about a year now, since being inspired by melanie testa and then deborah boshert.  i suppose you could say it is a cross between the two...with a bit of leah day thrown in, but my technique is a bit different to all of them.
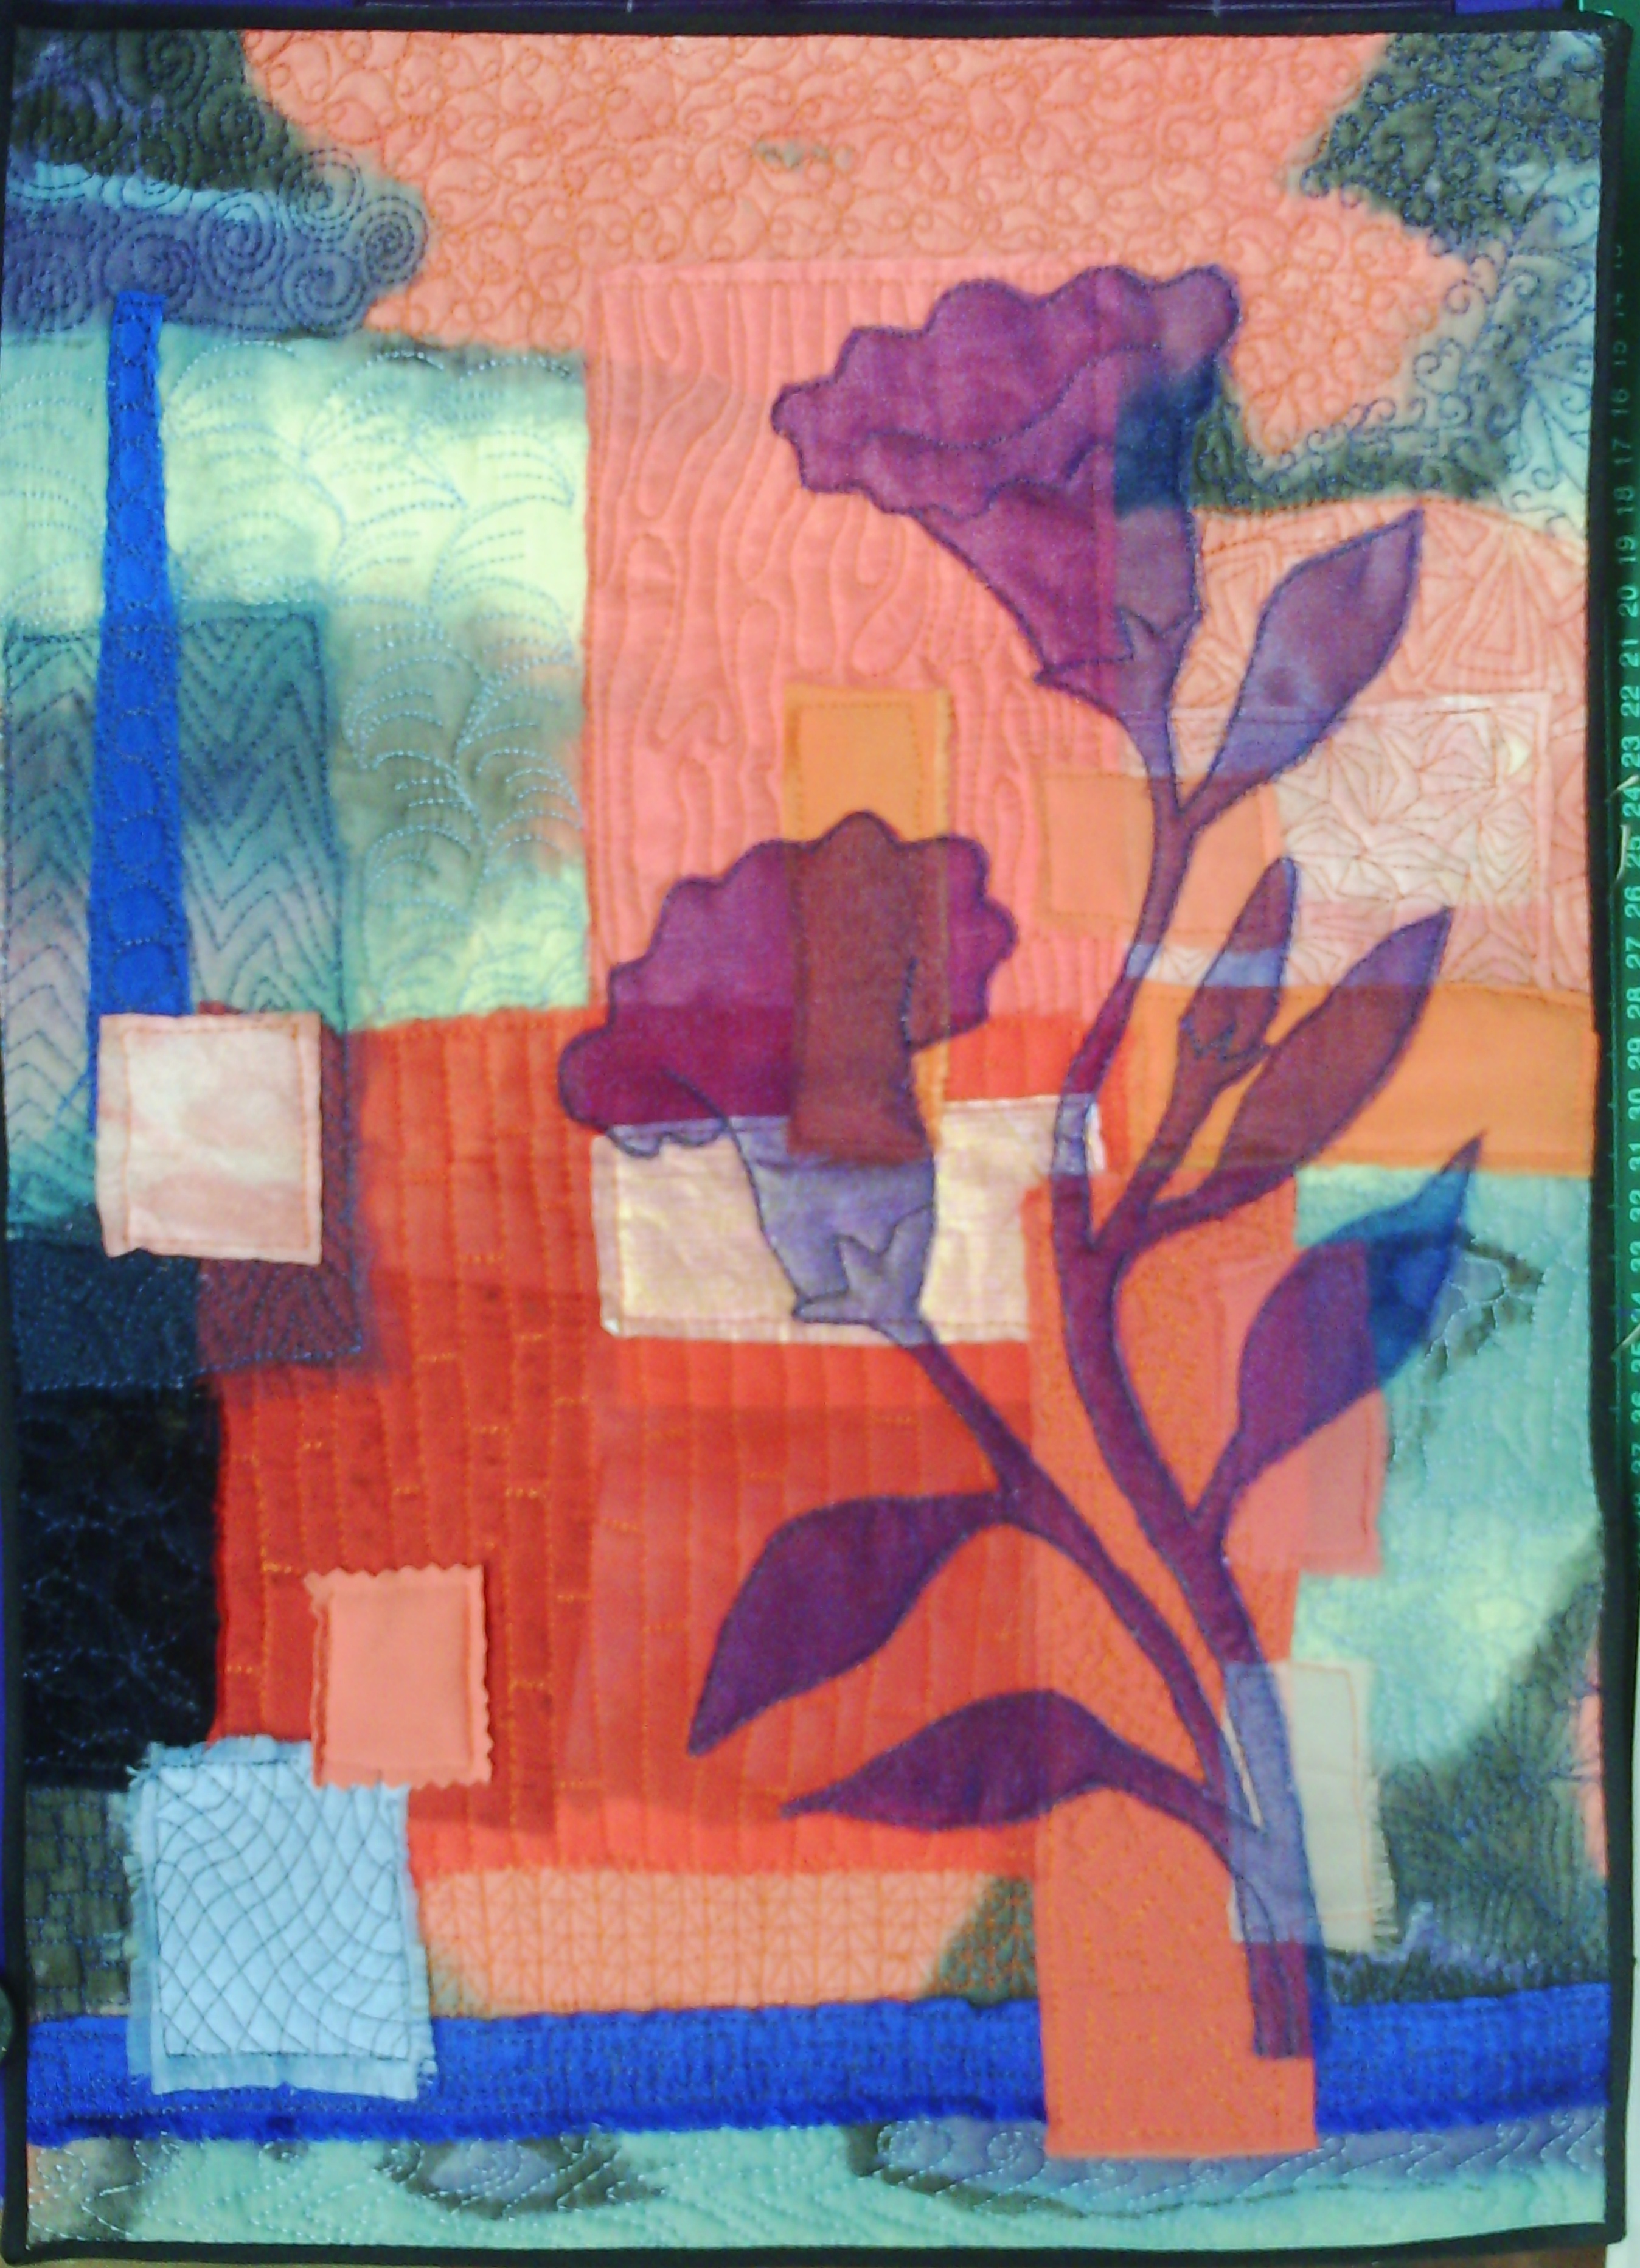
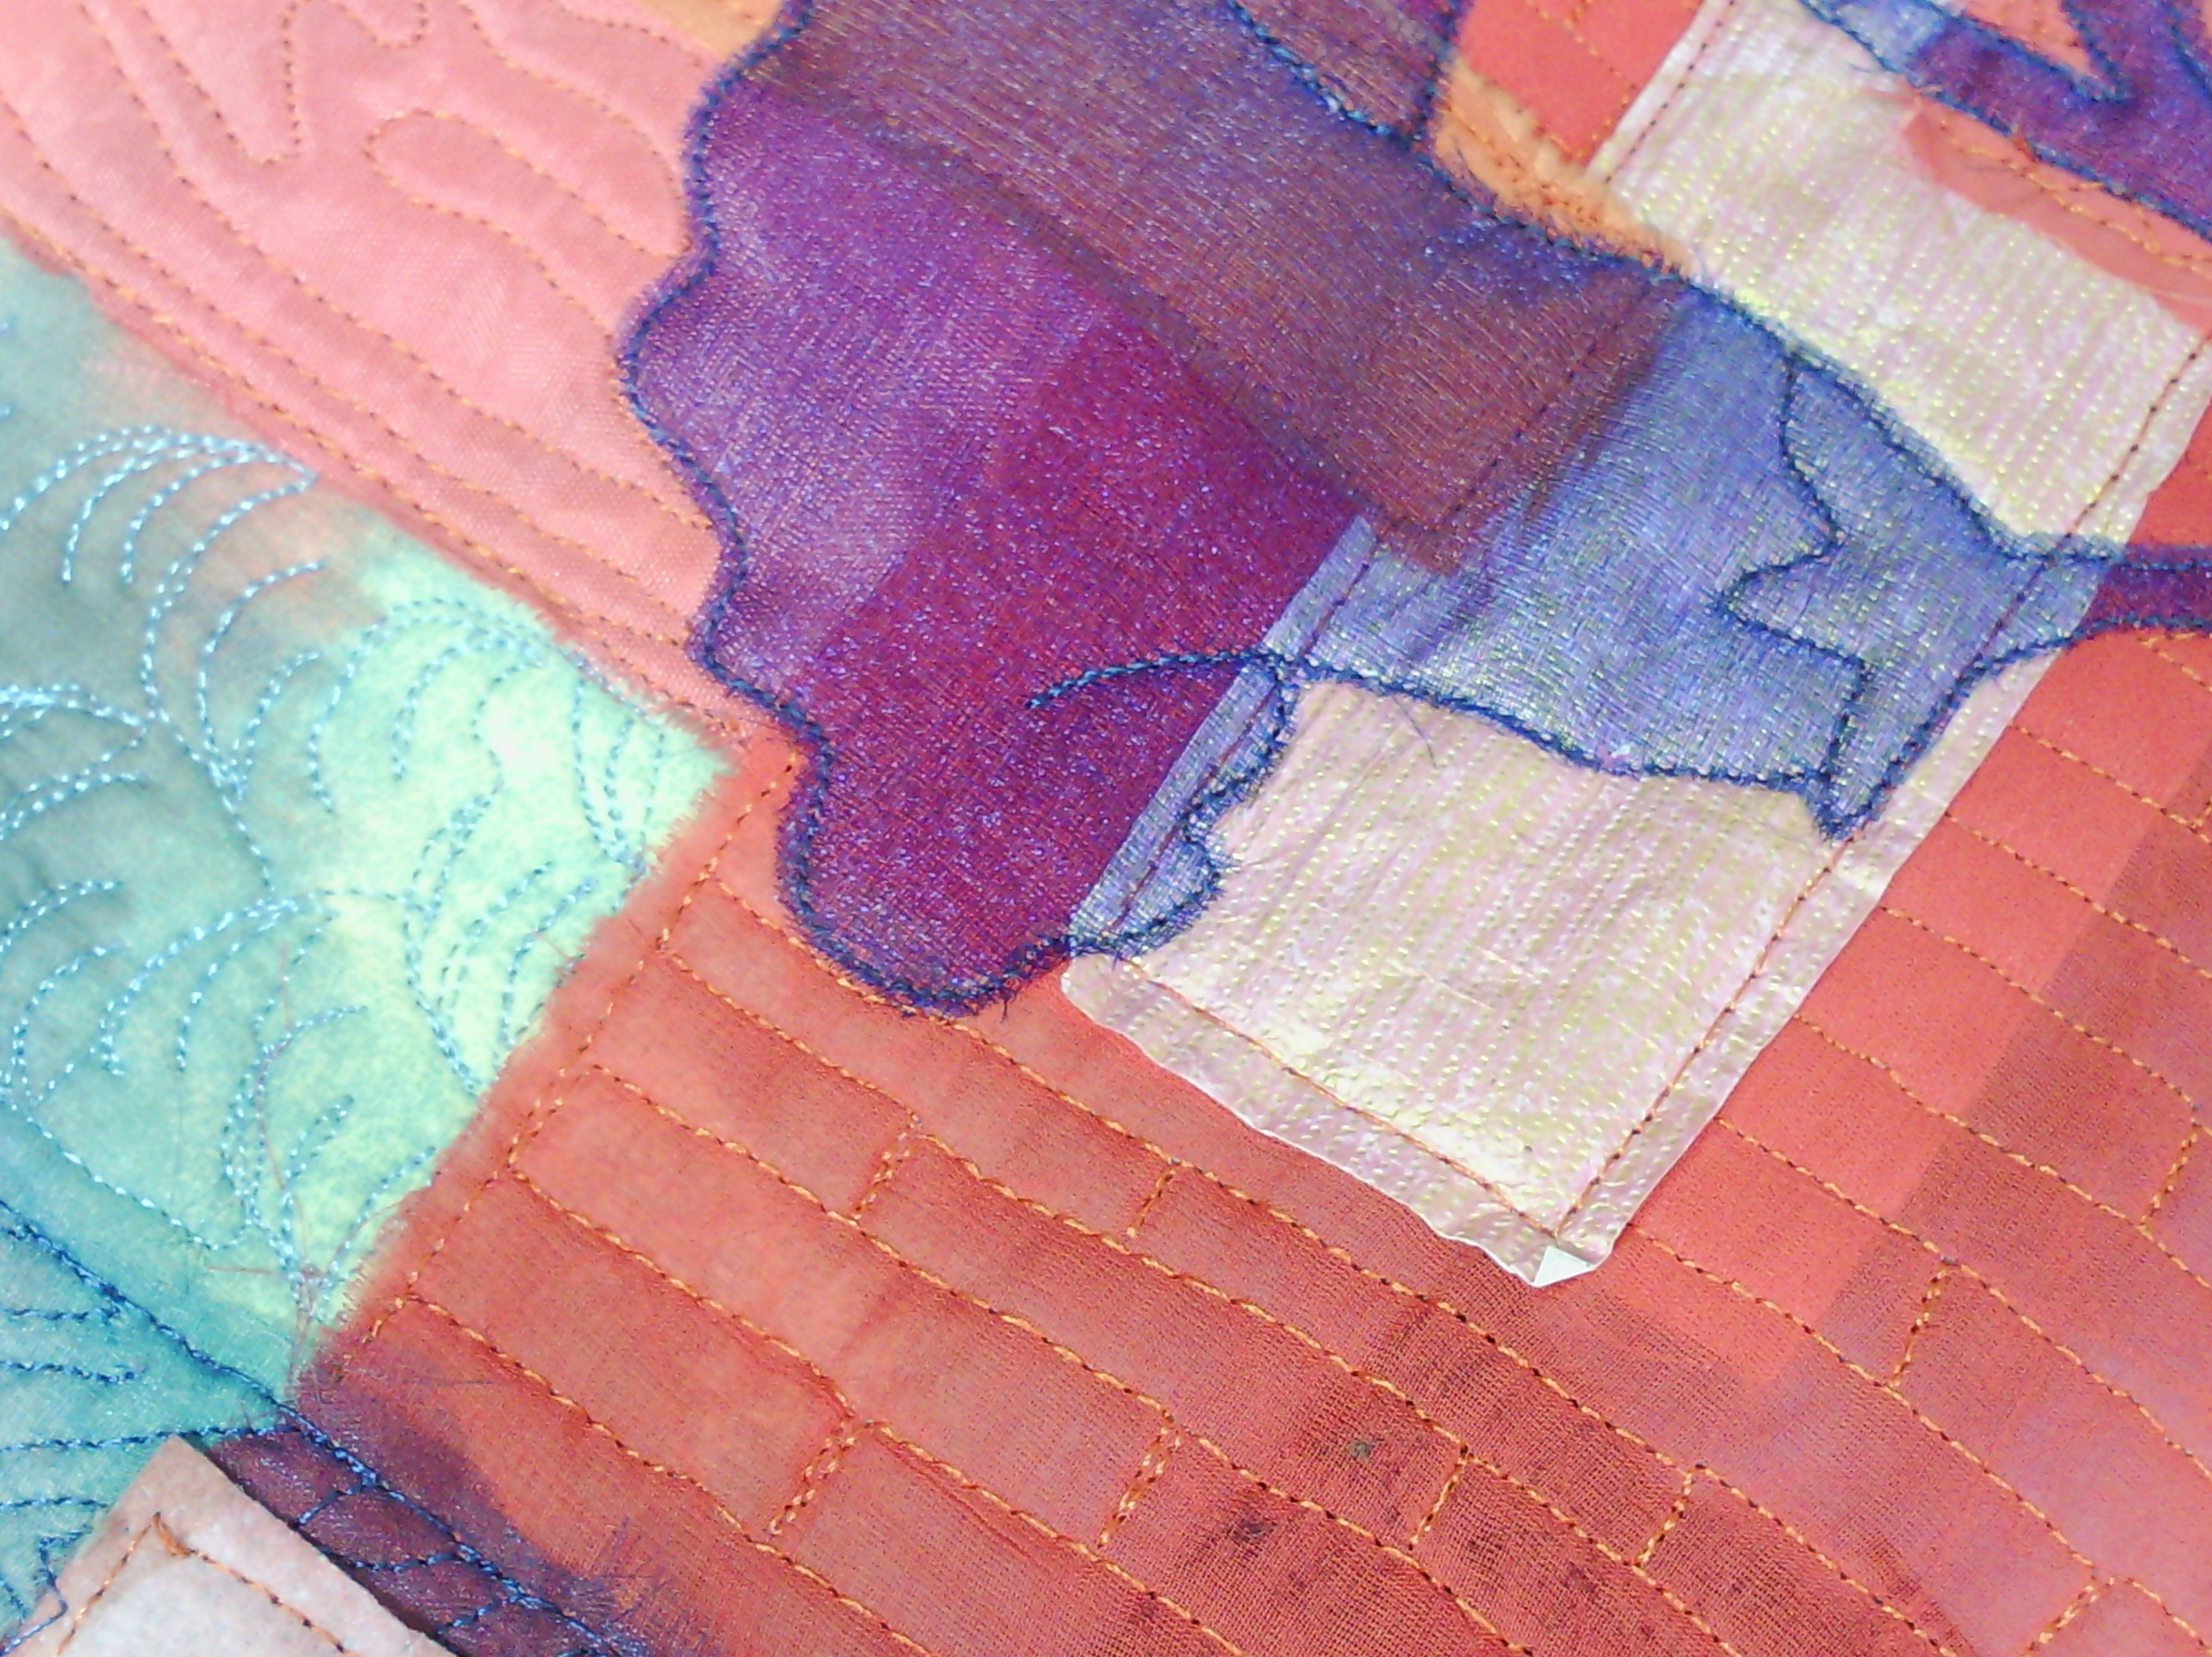
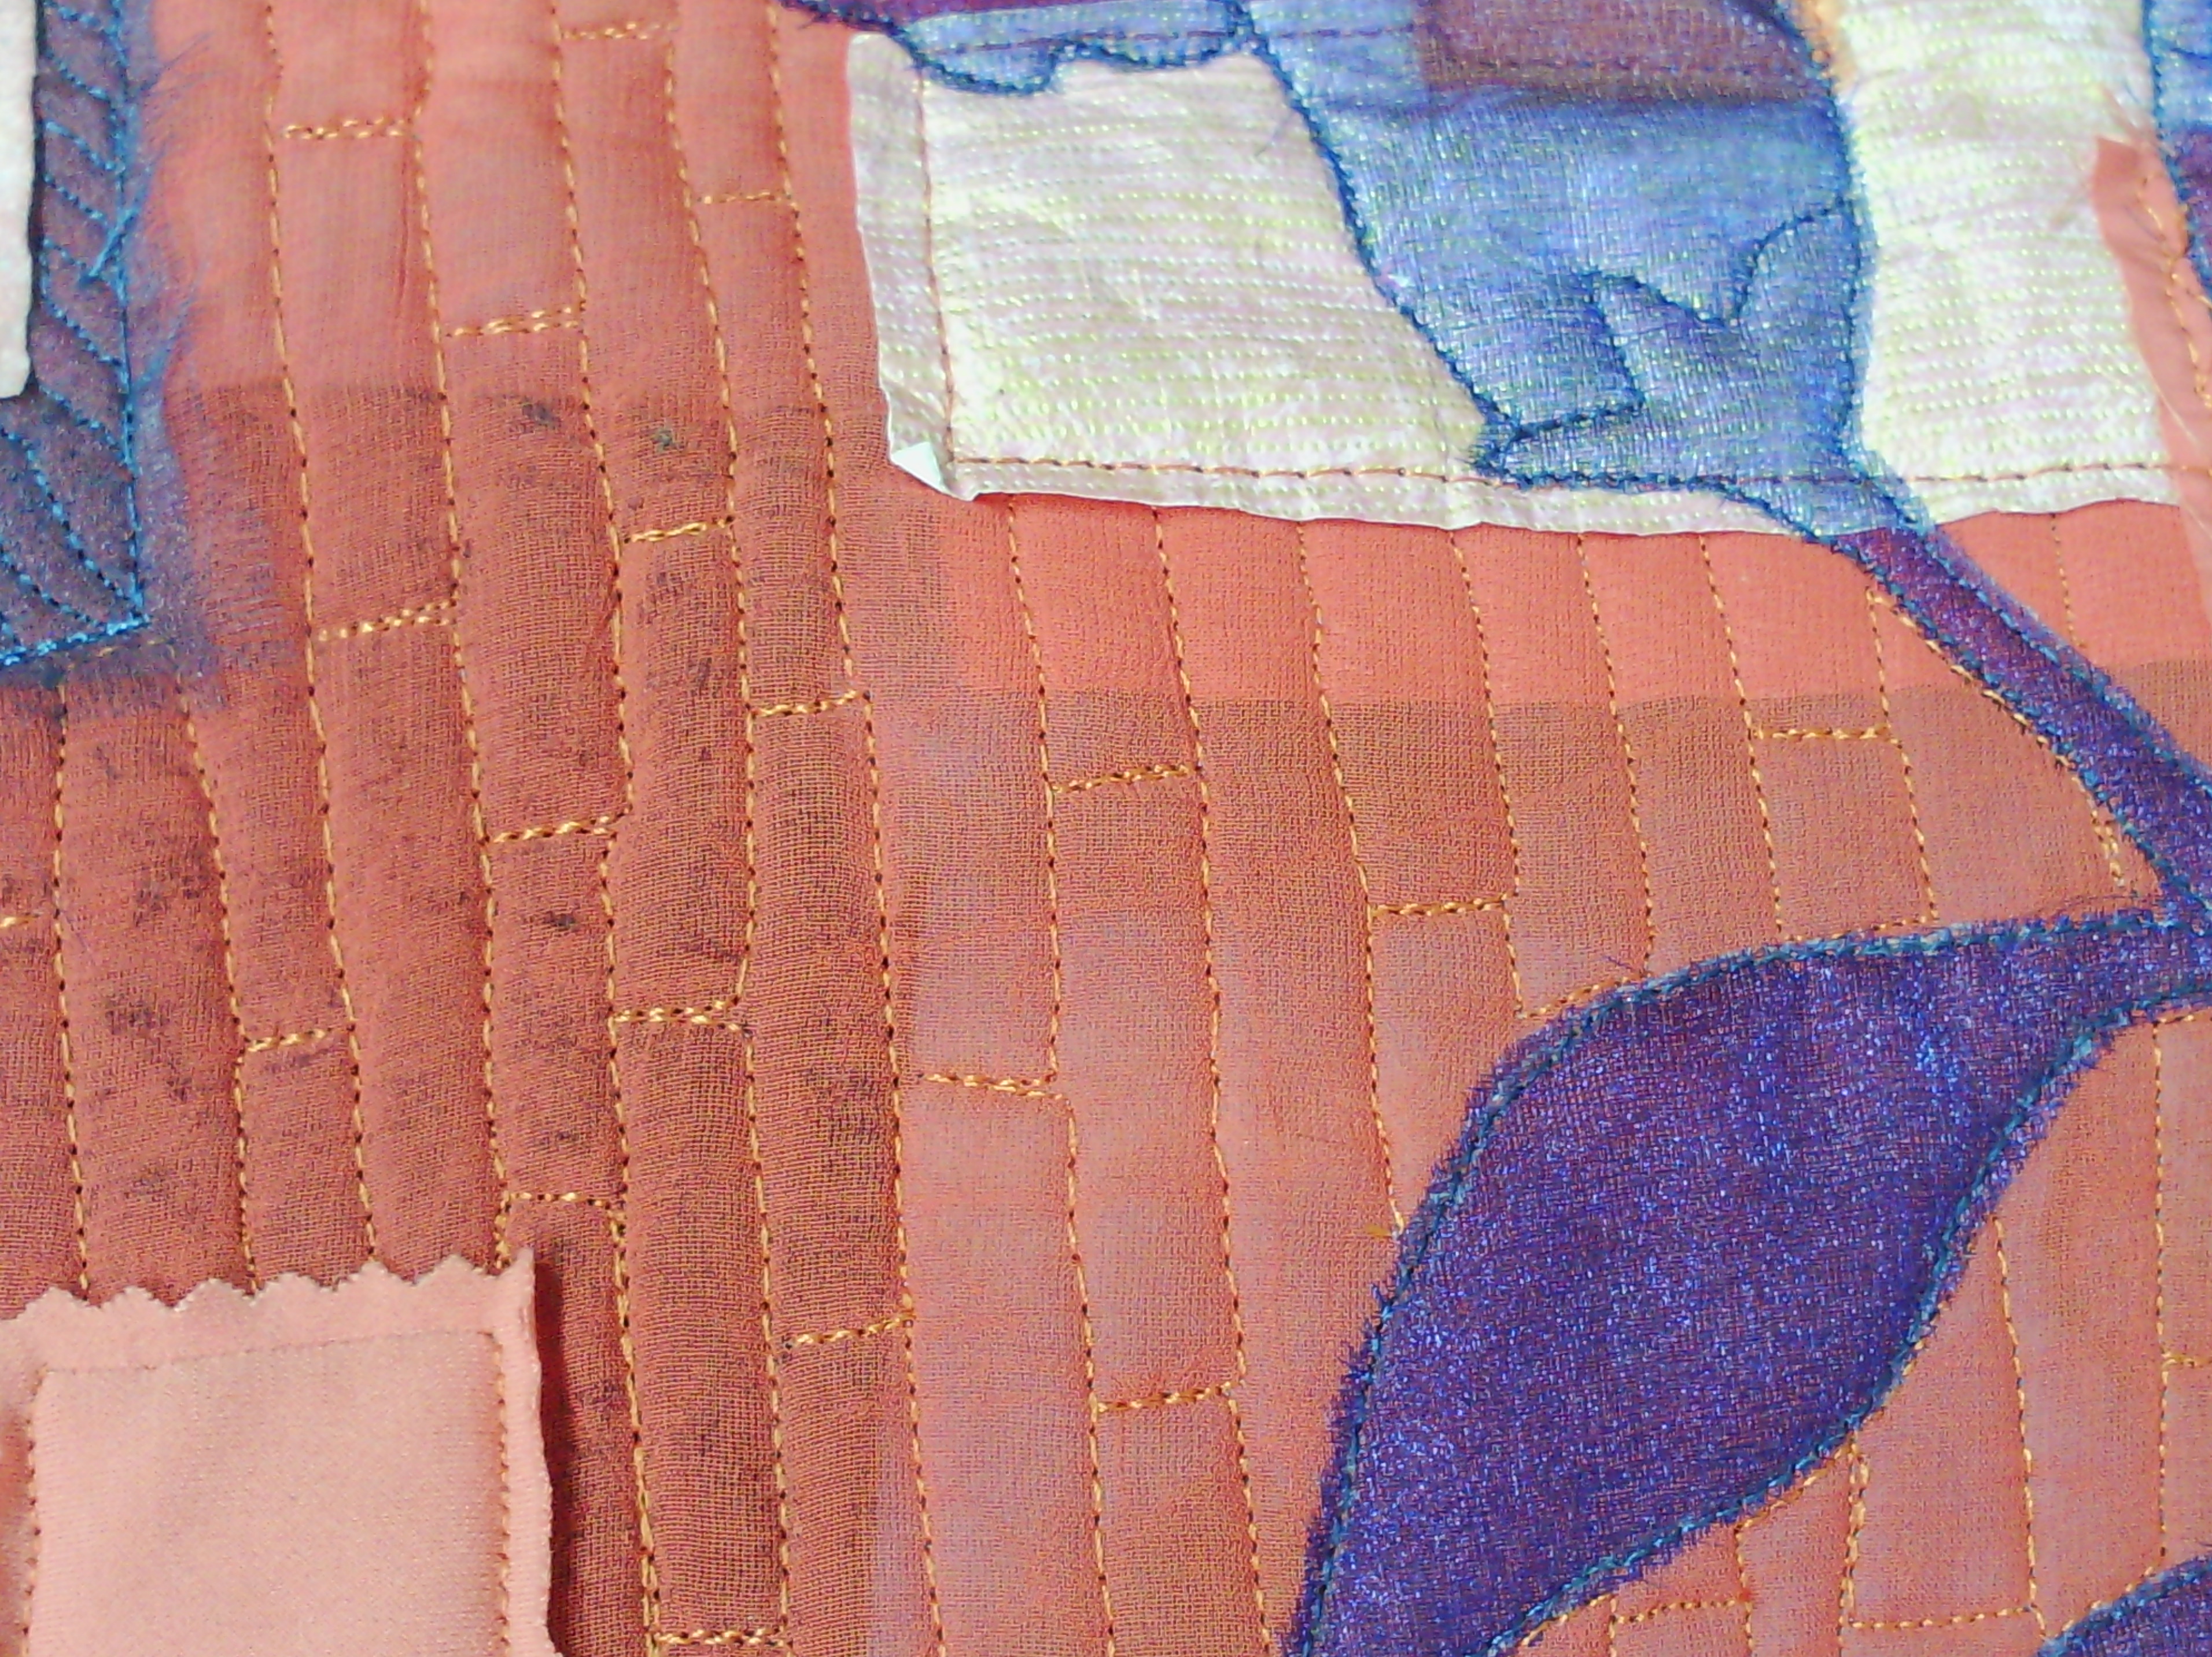
All of the fabrics are silks and satins and sampes from the recycle depot.  basically I just place them all down and play 'til I like them, but since i am going to do a silhouette over the top i am not too picky.
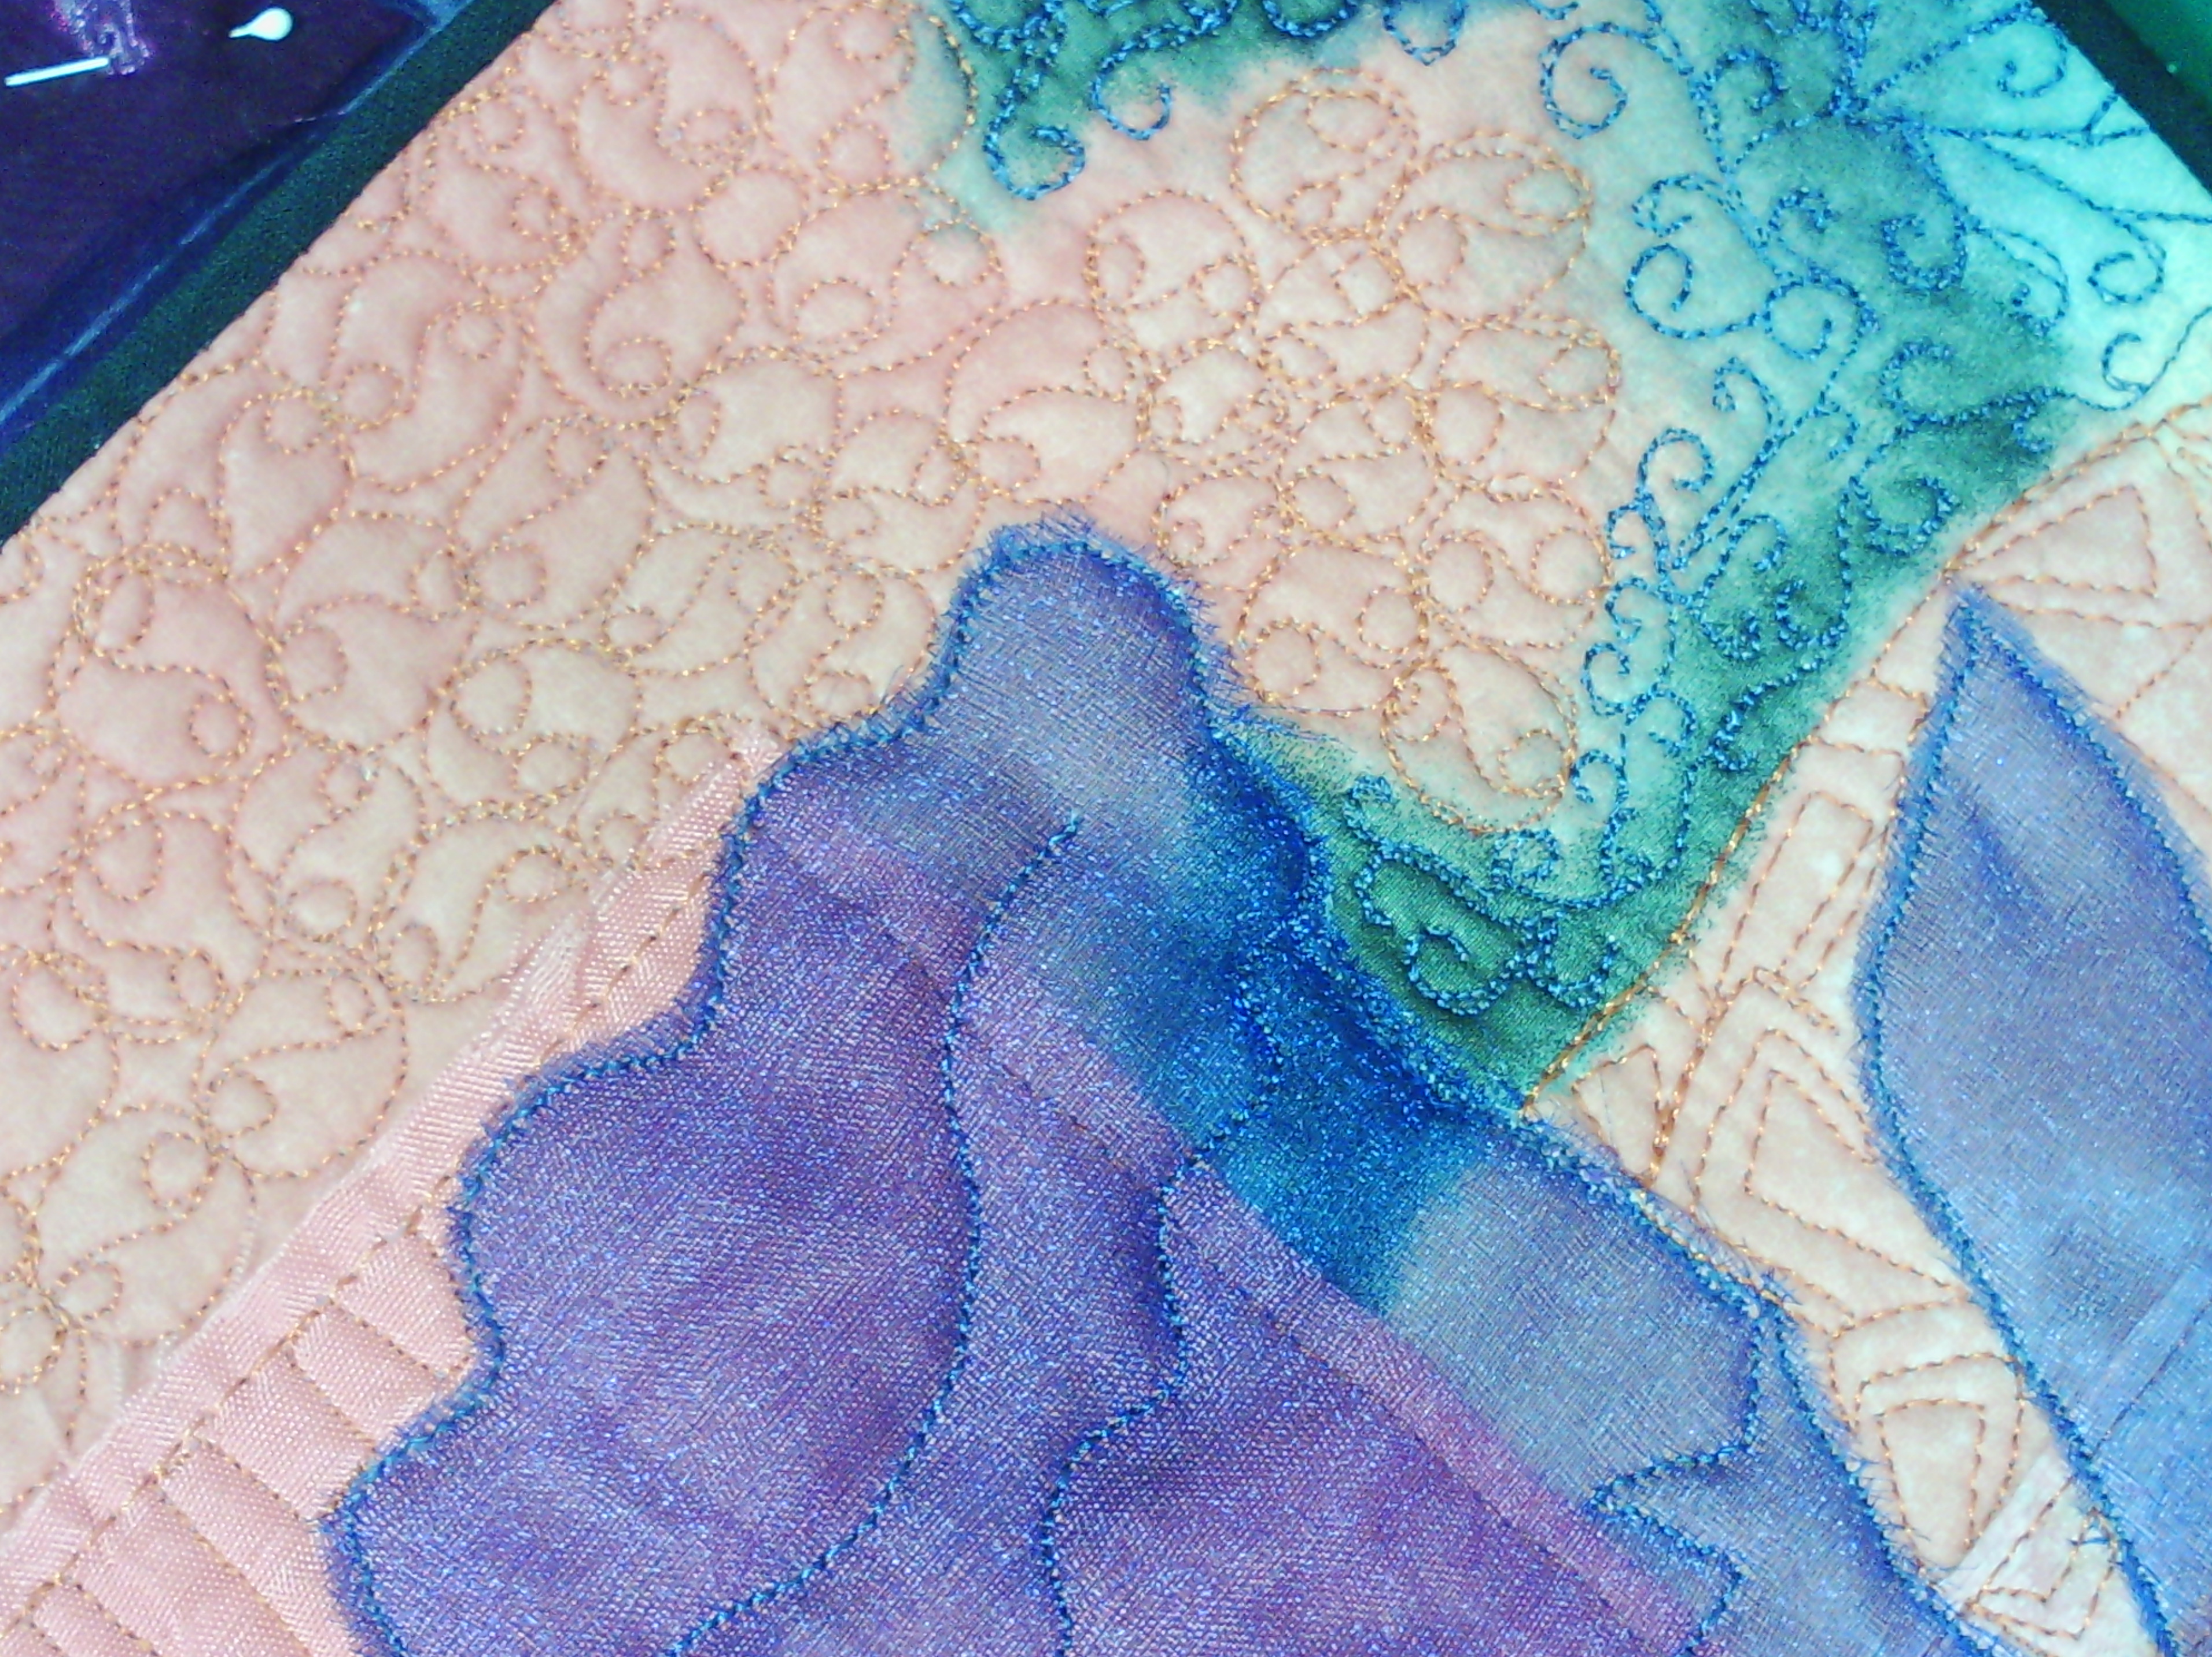
the silhouette in this case is of some bluebells, which Ijust sketched, in a midnight blue organza.  i free machined that down, then glued the seam line, then cut it out.
after that, I free motion quilted in the different spaces of the collage (well, most of them).
Then square up and bind, and there we go!
I suppose we could say, that as spring is here and the flowers are opening, it is along the lines of the open challenge, but it didn't begin as a challenge piece at all.  I have a couple of half finished pieces as well, one that I will just cut up and reuse and one i will finish eventually.....
This piece is just over A3 size or 11 by 17 in, so that is open, too.
hope you like it1

Open to Change

Open.
So many different ways to interpret this.  As someone who likes to experiment, and my "creations" don't always match my original plans and expectations, I really have to be open to change!
 
 
In a recent workshop day with Catherine Nicholls, we were experimenting, (or more correctly playing!)  with pen and ink.  This is something that I have absolutely no experience with, but oh what a great day it was!  We had some fun with playing with dots - lots of fun in fact!  (more about that in a future post on my blog)
 
 
and eventually, we reached the point where we were to paint cherry blossoms using Inktense pencils, washes and shading.  The fun with this is that it is so unpredictable as to what you will get.
I am no artist.  It soon became apparent that I was not creating a cherry blossom in any way shape or form!


decidedly not cherry blossom like

 
Much more tulip like.  I was open to this, and worked with what was presented, adding some shading with pencil crayons and dots.  Some faux trapunto, some dense quilting (whaaaaattt?!) and my end result

 
This is an example of what I like about creating - being open to what is revealing itself as you progress and being open to change to take a project in a completely different direction!
You never know what comes next!
 
Thank you Gina, I really enjoyed this theme!
 
Janet

Finished size 16" x 16"
Wholecloth, painted, pen & inked, traputoed and quilted,
Superior Bottomline thread top and bottom
 

Open Ended

I chose to take Gina at her word and made this an "open art event".  I had used a similar technique years ago in a cloth book and decided now was a good time to try the technique again.

Fall Leaves
This technique requires lots of fusible web.

The process:

  • decide on the dimensions of the project
  • iron fabric to fusible web and cut strips in varying widths 
fused strips of fabric
  • remove paper from fusible web
  • decide which strips will be the the warp and which will be the weft
  • set up a weaving board securing the warp at one end with pins. (A piece of cardboard works well).

    warp attached to weaving board
  • begin weaving the weft strips

  • When the weaving is complete, tighten up the warp and weft strips so no background shows through
  • Place the completed weaving on a background fabric and iron. Follow fusible web manufacturers instructions. Make sure the entire piece is fused to the background fabric.
  • Layer the weaving, batting and another piece of backing fabric and the piece is ready for quilting
The warp I used was originally black, but after completing the weaving, I decided the contrast between the warp and the weft strips was too great, so I fused and cut more strips and wove the piece again. The fun part is substituting one woven strip for another without needing to use a seam ripper.

Open Ended

Did you see the five leaves? I couldn't decide whether or not to stitch around them. What do you think?

Open

 After much consideration I decided to go literal with 'Open' as I had often considered cutting into a quilt to reveal an inner quilt. So I started with a piece of paper to see if my idea had any hope. I had been stuck on what my opening would reveal until I was taking apart the beautiful bouquet a friend had brought me, all with flowers and greenery from her garden and yard.
 I laid out the various flowers and greenery. Not finding any fine tuille I settled for a heavier piece of netting but decided it would be too much to add the stitching as I normally would do, so simply used some iron-on to keep it all in place. I was happy with the subtle effect the layer of netting added.
 More testing .... how to keep the opening open .... a few clay buttons should work....
 The outer fabric is one I had bought a few years simply because I liked the fabric. It was so different and looked hand-dyed. I drew the stitching lines around where I would sew and then cut the openings. You need to look closely to see the white chalk lines.
 Sewn and cut below....
 More testing but it didn't pass ..... the fabric would be too limp to give the effect I wanted.

 So I decided to make the opening fabric double sided with batting in between ... an actual quilt, how about that?! Below is the finished piece.
 I finally decided not to add a facing or binding but rather I crocheted a cotton yarn trim and stitched it to the edge. It seemed to go with the organic feel I was aiming for.


 Now I'm looking forward to our next challenge!